A blank spreadsheet looks intimidating for about five minutes — then it doesn’t.
This Google Sheets tutorial for beginners starts where most guides don’t: at zero. You open a new spreadsheet. The white grid stares back at you. Your mind goes completely blank — again. You just want to organize a budget, track a project, or stop losing data in email threads, but every guide out there is either a 90-minute video or a manual that reads like tax paperwork. Google Sheets isn’t hard. Nobody ever showed you where to actually start.
Why This Google Sheets Tutorial for Beginners Starts With Five Minutes, Not a Manual
Google Sheets is a free, cloud-based spreadsheet tool that opens in any browser — no installation, no license fee, and everything saves automatically to Google Drive. Sign into your Google account, go to sheets.new, and a blank spreadsheet opens instantly. You’re in.
The grid is made of cells. Each one has an address: column letter plus row number. The top-left cell is A1. If you’re new to this, you’ll click the wrong menu at least once before it clicks — click any cell and start typing, and that’s genuinely most of what you need to know to begin.
- Columns run vertically (A, B, C…)
- Rows run horizontally (1, 2, 3…)
- Every cell has one address (A1, B4, C12)
- Changes save automatically — no Ctrl+S needed
Skip the massive PDF everyone tries to print out first. The interface changes constantly, so printed guides go stale fast. Once basic data entry clicks, the real payoff shows up: share a link and everyone sees the same data update in real time, with no email attachments and no “final_v3_ACTUAL.xlsx” version confusion.
Google Sheets vs Excel: The Real Difference for Beginners
Most people ask this before anything else.
| Feature | Google Sheets | Microsoft Excel |
|---|---|---|
| Cost | Free | Paid (Microsoft 365) |
| Access | Any browser, any device | Desktop app required |
| Collaboration | Real-time, link sharing | Limited (OneDrive) |
| Auto-save | Always on | Manual or cloud only |
| Learning curve | Gentle | Steeper |
| Big data handling | Limited | Excellent |
| Best for beginners? | Yes | Later |
Excel still wins for massive datasets and heavy statistical modeling. Most people never touch those features — for budgets, trackers, simple lists, and team collaboration, Sheets wins on every count. If your job eventually demands serious data modeling, switching over takes a weekend once you already know spreadsheet logic.
→ Already comfortable with Sheets? See the Best AI Tools of 2026 That Automate Your Spreadsheet WorkThe Four Formulas You’ll Actually Use Every Week
Formulas look like equations. They’re not. A formula tells the spreadsheet to do math for you automatically, every time the underlying data changes — and every formula starts with =. That’s the only rule worth memorizing on day one.
Four formulas that cover almost everything
Add a range
=SUM(A1:A10)Find the average
=AVERAGE(B1:B10)Count numeric cells
=COUNT(C1:C20)Run a logic test
=IF(D1>100,"Over","Under")At first, all four look interchangeable. They’re not — SUM and AVERAGE handle numbers, COUNT handles cells, and IF handles decisions. Together, they carry most everyday tracking tasks and cover your entire first month of real use.
Stuck on formula syntax?
If you get stuck, ask Gemini — it’s built directly into Sheets now, so you can describe what you want in plain English, like “add up column B if column A says Food,” and it hands back the exact formula to paste into your cell.
These four formulas quietly power most of what a beginner ever needs to build.
Build Your First Real Tracker, Step by Step
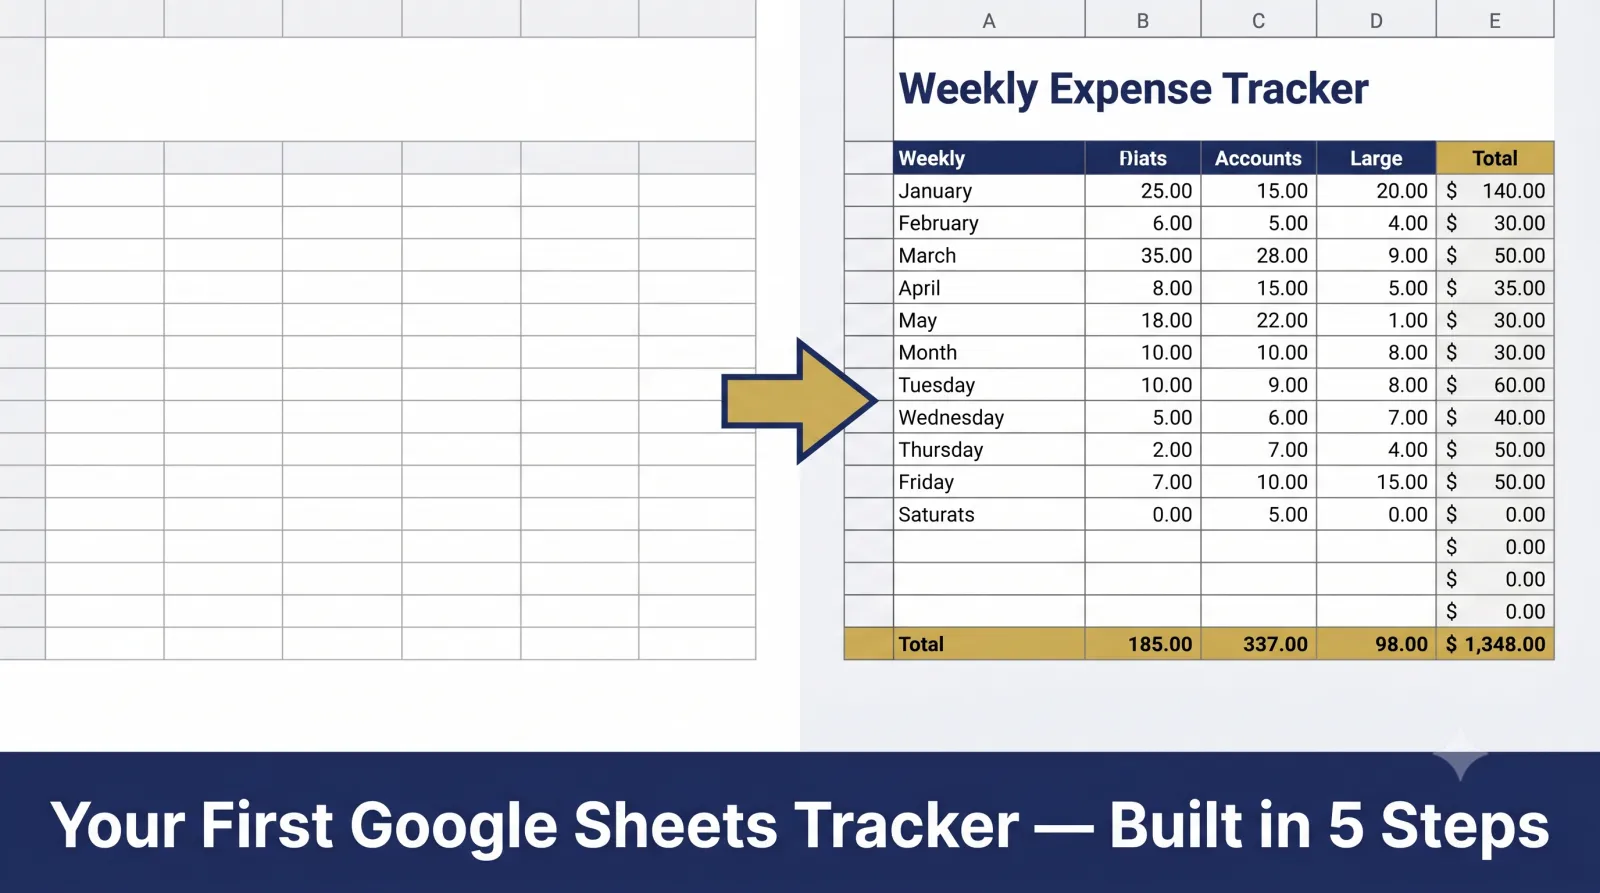
Most people remember this faster once they’ve built something real. Follow these five steps and you’ll have a working weekly expense tracker by the end.
Step 1 — Name your file
Click “Untitled spreadsheet” at the top left, type “Weekly Expense Tracker,” press Enter.
Step 2 — Set up headers
Click A1, type “Category.” Click B1, type “Item.” Click C1, type “Cost.” These are your columns.
Step 3 — Format your headers
Select A1 through C1 and press Ctrl+B. Your headers now stand out clearly from the data rows below them.
Step 4 — Enter your data
Most people stop here. Don’t. The next step is where Sheets starts saving you time. Start at A2 with a category like “Food.” Move to B2 for “Groceries,” then C2 for “85.” Add three or four more rows the same way.
Step 5 — Add your total
If you’ve ever lost track of expenses in a notebook, this is where everything changes. In the cell just below your last cost entry, type =SUM(C2:C10). Your total appears instantly and updates every time you add a new expense.
Pro Tip
Once your tracker runs smoothly, look into turning it into a small mobile app with AppSheet — it connects directly to a Google Sheet so your team can update it from their phones, no coding involved.
▶ Google Sheets for Beginners — The Complete Course
→ Ready to go further? XLOOKUP vs VLOOKUP — Which Formula Should You Actually Use?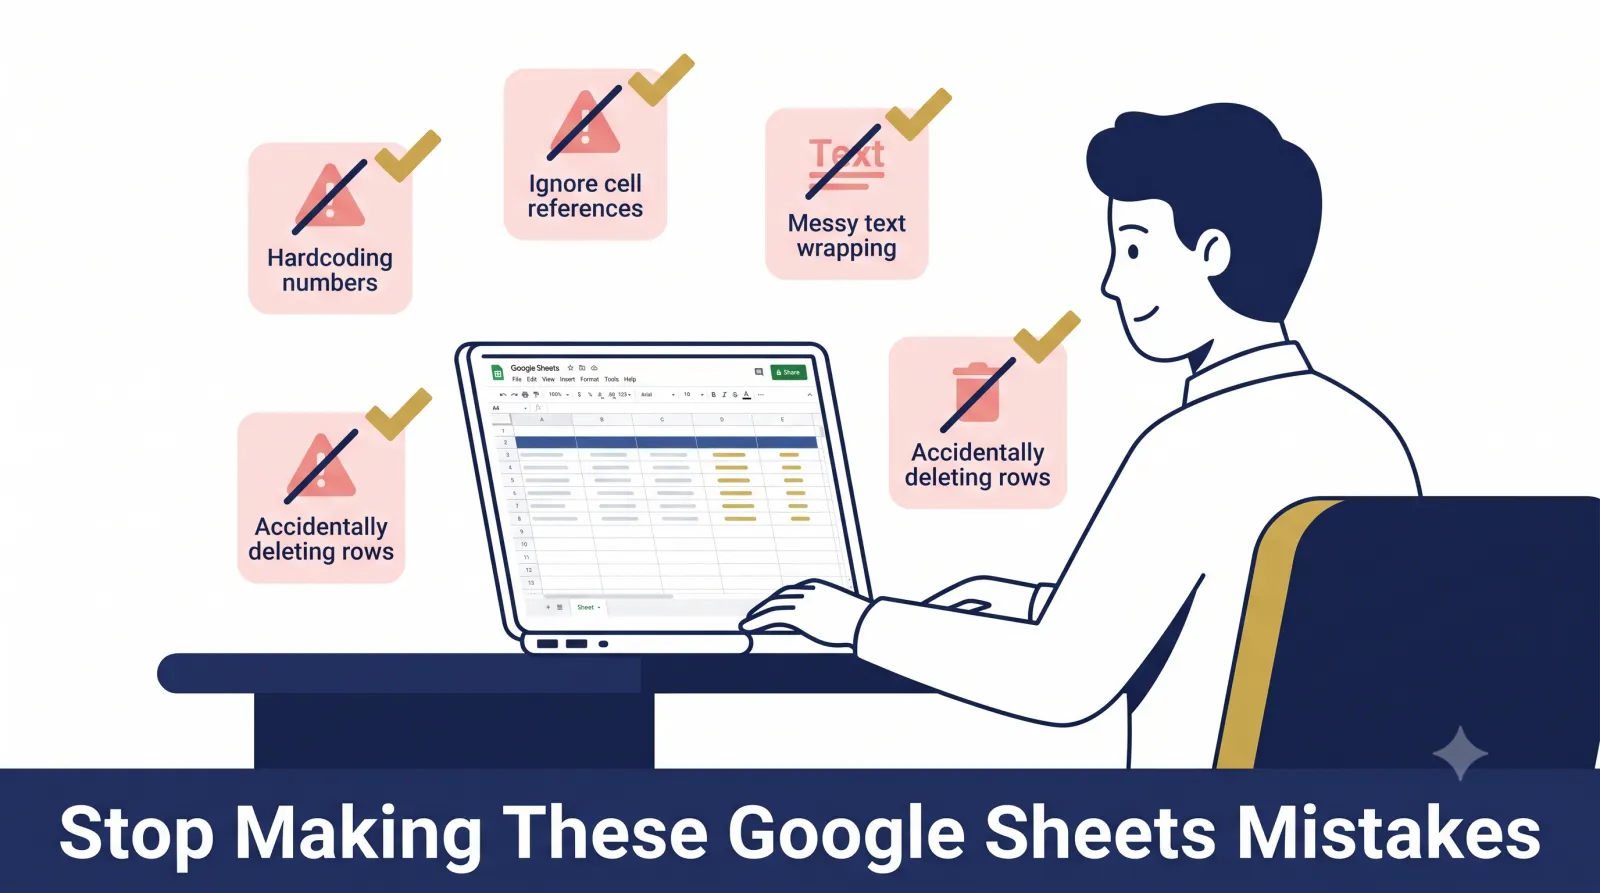
A named file, bold headers, and one SUM formula — that’s the whole tracker.
Habits That Quietly Wreck a Beginner’s Sheet
Most spreadsheet mistakes aren’t a big deal — except these four, which nobody warns you about before you start.
Watch for these
- Hardcoding calculated values — never type 100 when A1+B1 already equal 100. Use
=A1+B1so the total updates itself when the data changes. - Ignoring cell references — write
=A1+A2, not=10+20. Dynamic references keep a sheet alive; fixed numbers turn it into a dead document. - Messy text wrapping — long text bleeding into neighboring cells looks broken. Select the cells, then Format, then Text wrapping, then Wrap. Fixed instantly.
- Accidentally deleting rows — freeze your header row before you scroll. View, then Freeze, then 1 row, and headers stay locked at the top for good.
Avoiding these four mistakes early saves hours of cleanup later — long before they cost you actual data.
Build your first tracker today.
Open sheets.new right now and follow the five steps above. A real, working spreadsheet takes under 10 minutes to build — and saves you hours every week after that.
Frequently Asked Questions
Is Google Sheets difficult to learn?
No. It’s one of the easier tools to pick up with basic computer skills. Most people master the core functions within a single weekend of hands-on practice — especially when they build a real project instead of just watching videos.
How do I use Google Sheets step by step as a complete beginner?
Open a blank sheet at sheets.new. Learn to enter data, add headers, and use SUM, AVERAGE, and IF. Then build one small real project — a budget, a task list, or a weekly planner. Real projects teach faster than drills.
Where can I get a Google Sheets formulas cheat sheet?
Google’s own Sheets function list is the most reliable free reference, and it’s kept current as new formulas are added. Knowing SUM, AVERAGE, COUNT, IF, and VLOOKUP covers nearly every common case in the first few months of use.
What’s the best AI tool for Google Sheets beginners?
Ask Gemini — it’s built directly into Google Sheets now, and it can write formulas, summarize data, or auto-fill columns without you knowing any syntax at all.
Is Google Sheets good for small business use?
Yes. It handles inventory tracking, client lists, budget management, project timelines, and team scheduling well for small teams. Real-time collaboration and link sharing remove the need to email files back and forth.
You May Also Like
 XLOOKUP vs VLOOKUP: 5 Reasons to Switch Now
 How to Freeze Rows in Excel: The Complete Guide
 Python in Excel: How to Enable It and 3 Key Functions
 Wall Pilates for Beginners: The Free 28-Day Challenge Plan
 Naver Maps English: 7 Tips to Navigate Korea Like a Local
 Best AI Tools: 11 Proven Picks That Actually Save Time
 Dental Implant Cost Without Insurance: The Number Your Dentist Won’t Show You First
 7 Red Light Therapy at Home Secrets for Ozempic Face & Acne